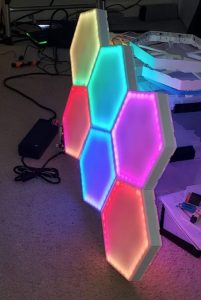
Hexlight V2 – The bright new decorative wall light

I have completely re-designed my LED controller a few times over the last few months.
V1

V1.2
This board steps away from the Buck converter to a linear voltage regulator. This was to fix a dirty power issue. Also note the extra caps on the board for this issues. However, in hindsight I should have just added some bigger capacitors to smooth the power. The next few revisions where back to back so I didn’t have time to properly test it.
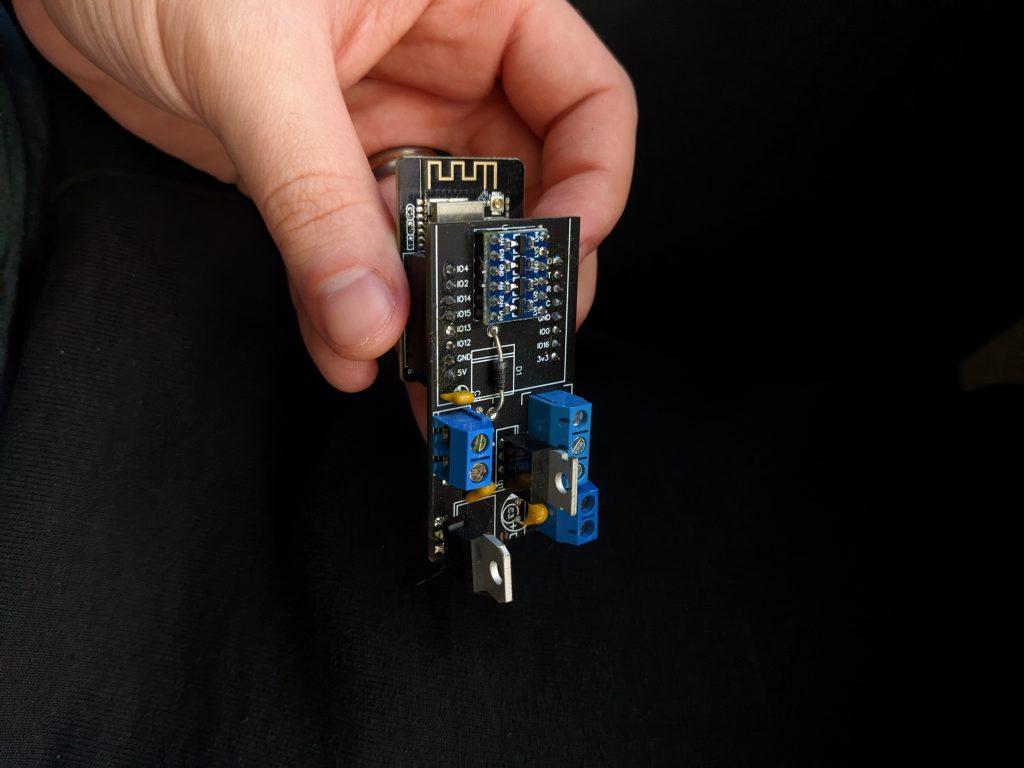
V2
This was my first true redesign. Supporting 2 PWM and 4 Addressable Data LED strings. This was designed mostly to the maximum specs I could foresee myself even using.
This design also features my dive into custome ICs. Featuring a 3.3v to 5v high switch frequency logic level IC.
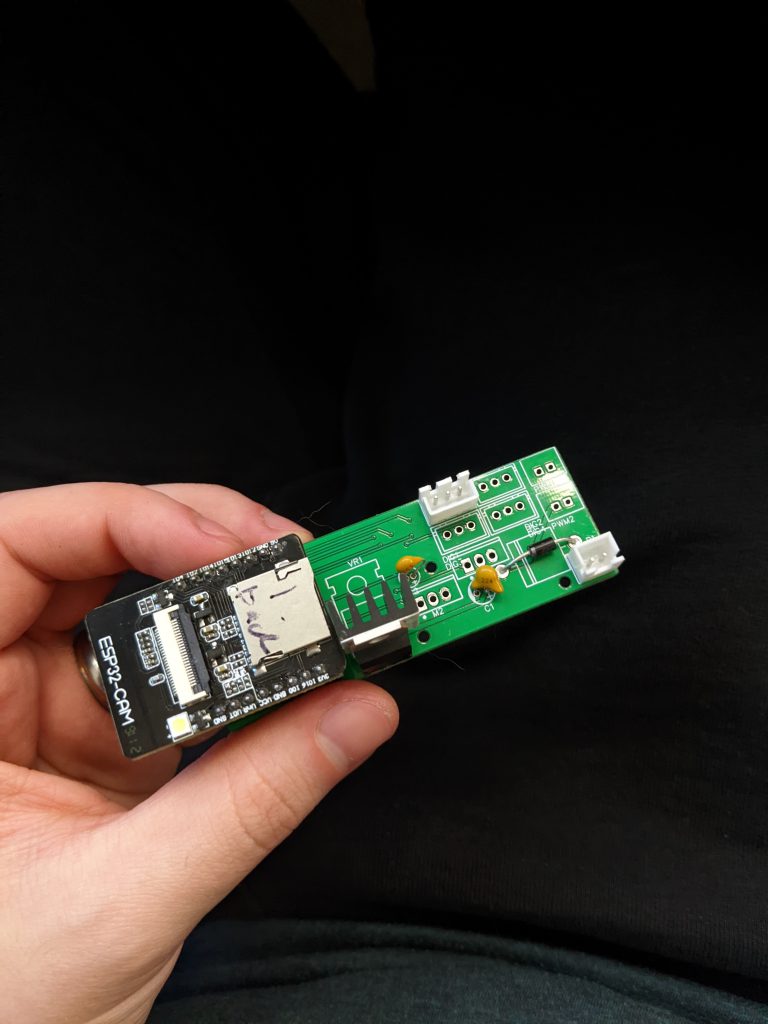
V2 Mini
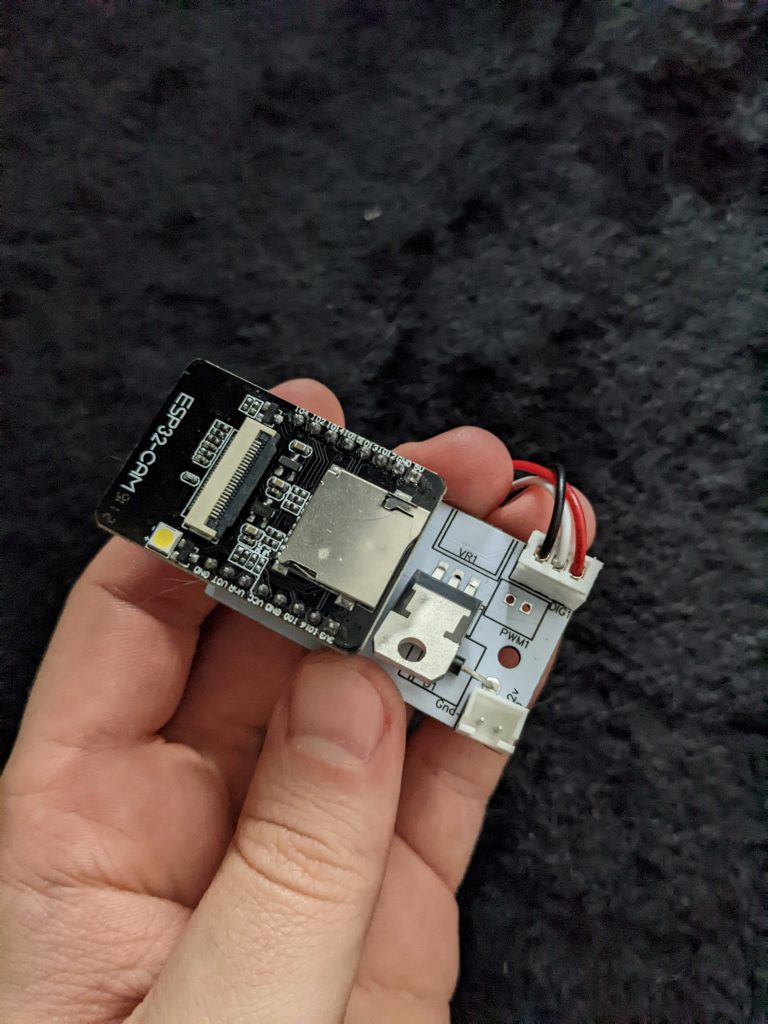
This redesign is just the V2 without the extra ports. Ironically, after designing this board I found an addressable 12v LED string that had white built in. So PWM wasn’t needed… Well too late. I’m not waiting for more boards to ship!
This board is what I’m currently using for all my LED projects.
The Dive into Hexlights
From here I dove into constructing a container to house my new controller. Thinking to myself this will be a breeze. Well, I was wrong.
V1
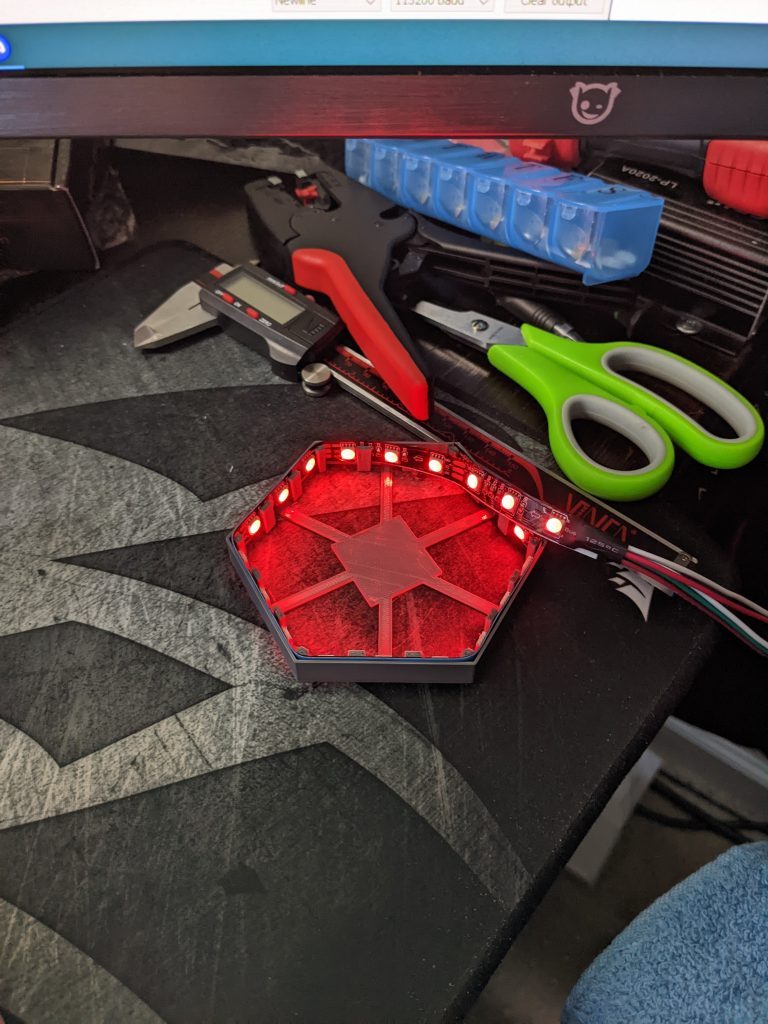
This is V1 of the housing. It features things my big lights don’t. Like LED holding beams to prevent the LEDs from sagging and looking bad.
V1 + Diffuser
V1 + 4 more
V1 Rainbow
Unfortunately, I didn’t capture the long design process. But there was a lot of tedious decisions in order to do things like Strengthen the structure, Attach them together, run wires, hold the diffuser sheet on, add a mounting point (I regret my decision on that now), and create a housing for the controller that accepts 12v power at the bottom.
The final version pictured in the articles image is 6 lights strung together. And I’m very happy with the result. I have a second set sitting behind me currently and I’m going to replay my previous lights from about a year ago.
Oh, and what was the regret I had with the mounting point?
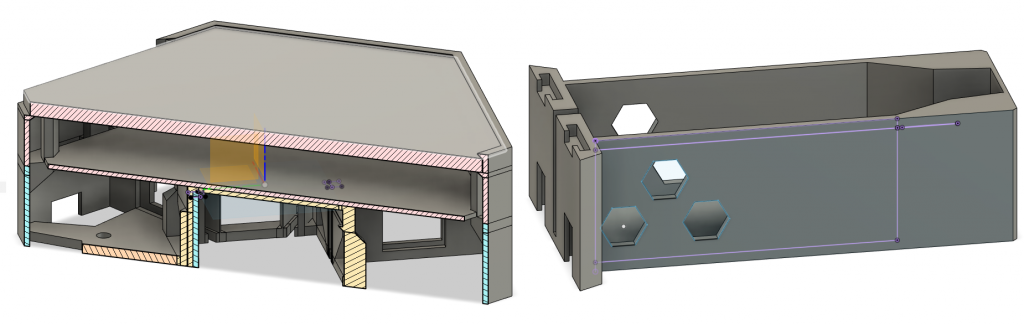
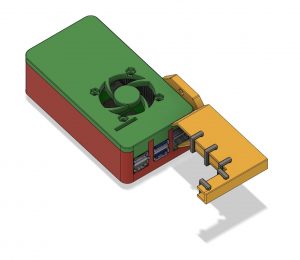
If you look at the cross section of my model you will notice a few things.
- At the very back on the left side you will see a screw hole.
- Above it you will see a reflector. I tested a few shapes, but flat seemed to work the best to help brighten up the lights.
- Above that is the diffuser. It’s the only part I didn’t 3d print. My original lights had them 3d printed. But it’s a length and not very good looking part of the current lights. I ordered 0.118″ White acrylic from https://sendcutsend.com/ and they turned out beautifully.
The issue with this design. Is in order to mount the lights, you need to remove the reflector and diffuser to put the screws in. Then put it back together. And the outer diffuser is VERY tightly mounted in place. This is a chore and I hate it.
If I was to re-design this. I would separate the mounting point from the bottom of the lights. Likely with some kind of slide on hook system. This would allow the lights to be easily added and removed from the wall.